I have been a fly buyer for many years but this winter I wanted to learn to tie my own flies. I have been told by many friends who fly fish it is cool to catch a fish on a on fly that you have tied yourself – heightens the fishing experience. I decided to learn how to tie chironomids first and then would learn other patterns after that.
Fly Tying Learning Resources
Two years ago I purchased a bundle of online courses through the Stillwater Academy with Phil Rowley and Jordan Oelrich and within this bundle was a Chironomid Tying Course that Jordan had put together. It went over all the basics: equipment, materials, tying techniques and patterns. Once the lakes iced up this past season, I watched the videos over and over and built my shopping list.
Along with the course, I found the following helpful with recipes of patterns, tying techniques and/or video instruction:
- Phil Rowley’s YouTube Channel
- BC Flyguys YouTube Channel
- Sport Fishing on the Fly YouTube Channel
- Trevor Tatarczuk’s Patterns
- Stanton Jack’s Patterns
- Central Alberta Fly Tying Club
- Flyguys.net
- FlyFishing97 Podcast
- Stillwaters Facebook Group
Equipment and Materials
To help me understand tying vise options, I talked with Reid at Reid’s Fly Shop and I went with a Griffin Odyssey Spider vise. The vise came with a clamp only and after setting it up at home, I decided to buy a pedestal base to use with the vise. It is a good first vise purchase at a decent price. It took some practice to utilize the rotary feature effectively but what a difference maker.
My first purchases of materials focused on chironomids only. Here is a list of items:
| Thread | Black, Red, Rusty Brown, Burnt Orange, Olive, Light Olive, Gray Brown, Tan, Wine, Blue Dun, Brown |
| Hooks | Scud Hooks Size 10, 12, 14 |
| Hooks | Curved Nymph 2X Long Size 12, 14, 16 – should have went with size 18 instead of size 12 |
| Beads | White Size 5/64, 3/32, 7/64 |
| Beads | Black Nickel Size 5/64, 3/32, 7/64 |
| Beads | Magic Brown Size 5/64, 3/32, 7/64 |
| ASB | Anti-Static Bag 0.5 mm |
| Tinsel | holographic black, red and wine; laser silver, opal |
| Flashabou | black, red, holographic red, silver, cranberry, gun metal |
| Wire | red, silver, gold, copper, brown, black |
| Buzzer Wrap | smoke, rootbeer |
| Gills or thorax | uni-stretch; peacock herl |
| Clear coat | UV clear coat thin and UV Light |
Patterns

My first chironomid.
A rough looking first tie.
The majority of my first patterns were thread body and wire or thread rib – basic colour combinations – which allowed me to work on keeping the body thin and building a nice taper. Once comfortable with those techniques, I tried thread blending.


Then it was on to some other patterns and a few bloodworm patterns.


From a picture on Instagram, I noticed a system for batching your tying work. I would usually tie in groups of six – same pattern, 3 of one size, 3 of another size – so I created a simple magnetic strip system for my hooks. I would pinch the barb and add the bead in step 1, then add the gills to all the hooks in step 2, then tie the pattern. Using a magnetic tape strip, a paint stir stick and some duct tape I created a little tool to hold my hooks while I worked at each step.
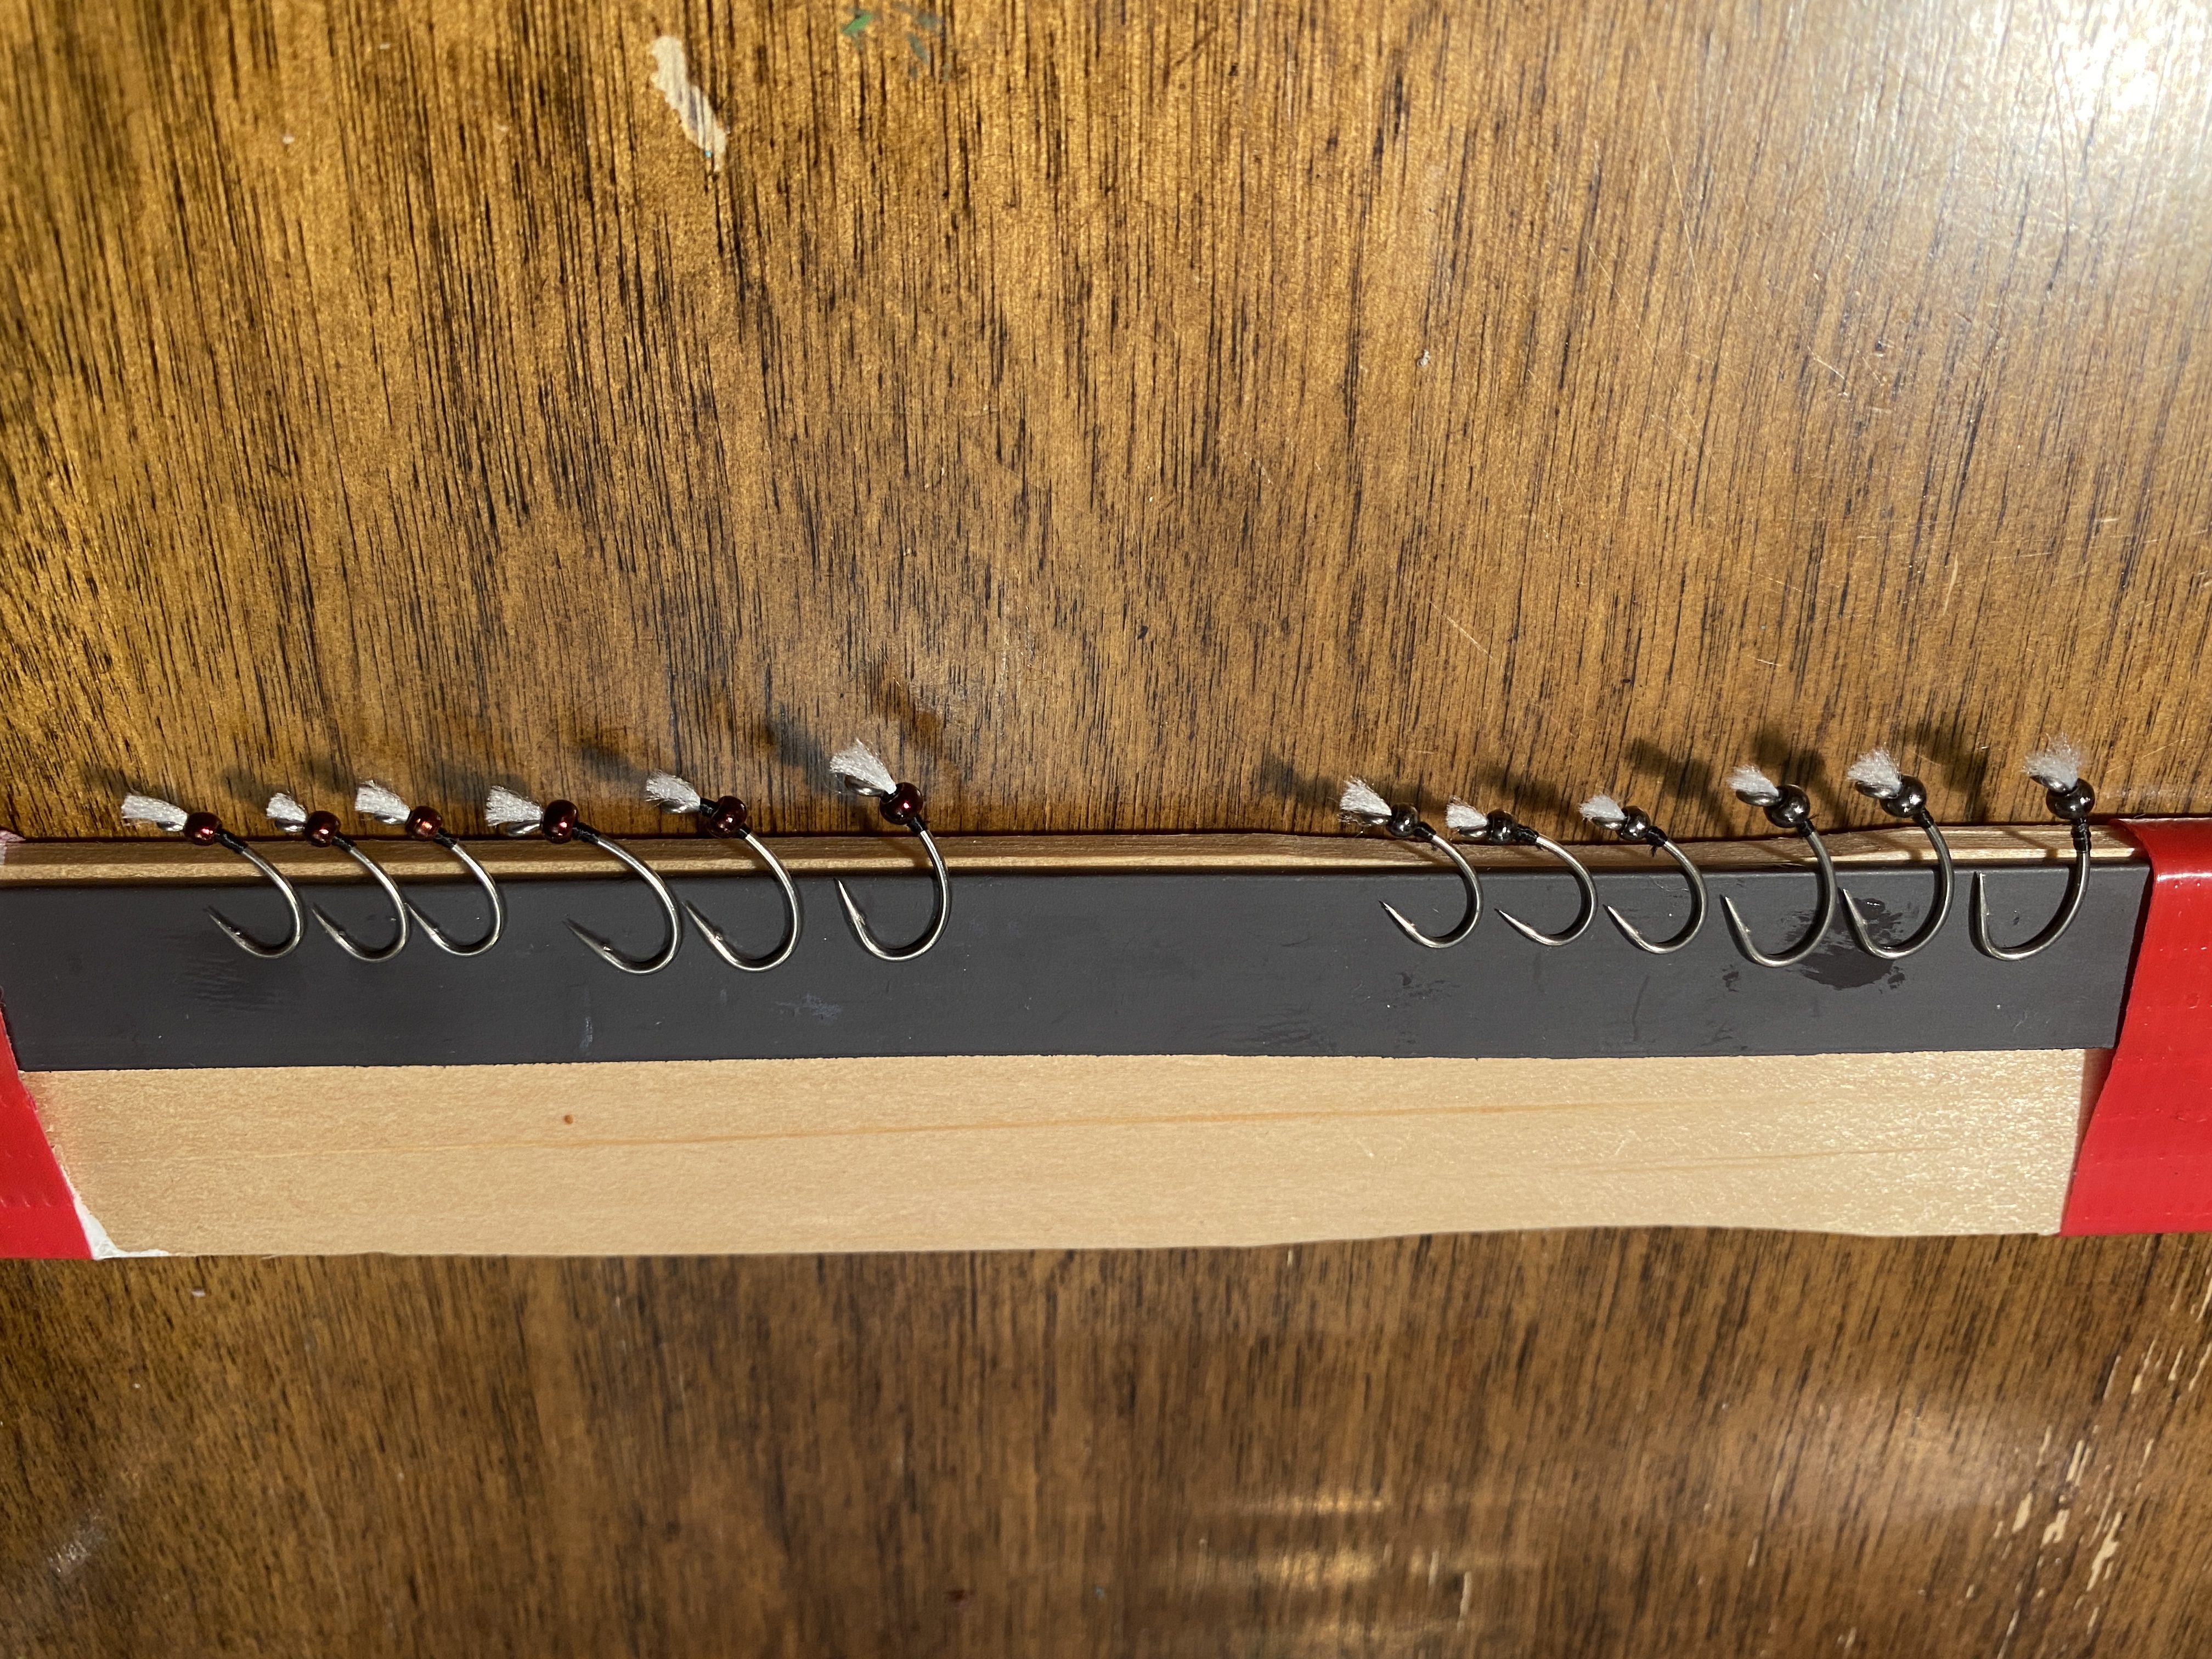
Batch system

After some hours at the bench,
a full box to try this season.
Next up were leeches and scuds.